-
Add: Maohui Industrial Zone,Henglan town,Zhongshan City,Guangdong,China
-
Tel: +86 158 8963 0817
-
Email: info@hexlightoem.com

A Guide To Set Up Hexagon LED Lights
Table of Contents
Summary
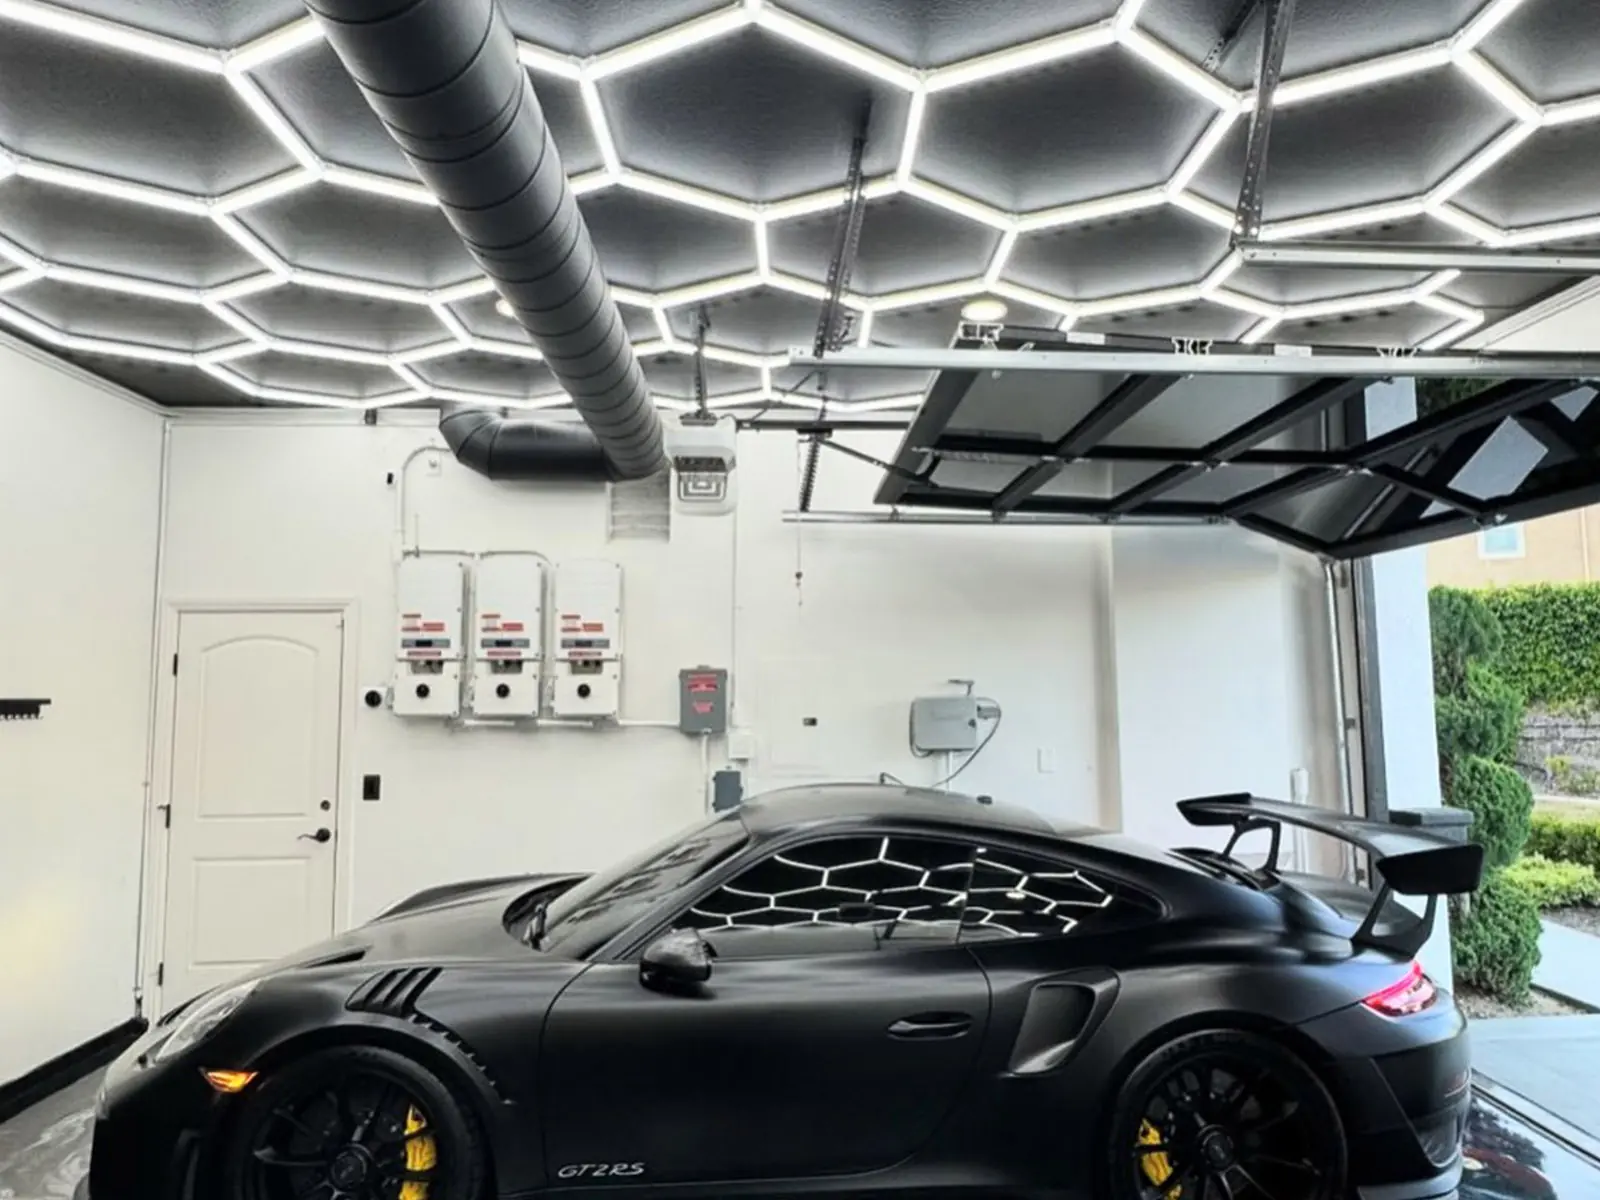
Effective and energy-efficient lighting solutions, such as Hexagon LED Lights, are essential for enhancing workspace functionality and safety. This guide outlines a scientific and systematic approach to installing these fixtures. By following this step-by-step process, you can ensure an efficient installation, resulting in bright, uniform lighting that transforms your garage.

Materials and Planning: A Blueprint for Success
Before installation begins, it’s crucial to have all necessary materials and a detailed layout plan. Proper preparation will streamline the process and prevent unnecessary delays.
Materials Needed:
- Hexagon light panels
- Adhesive strips or mounting hardware (depending on your preference)
- Power supply (if not included with the light kit)
Step 1: Plan Your Layout
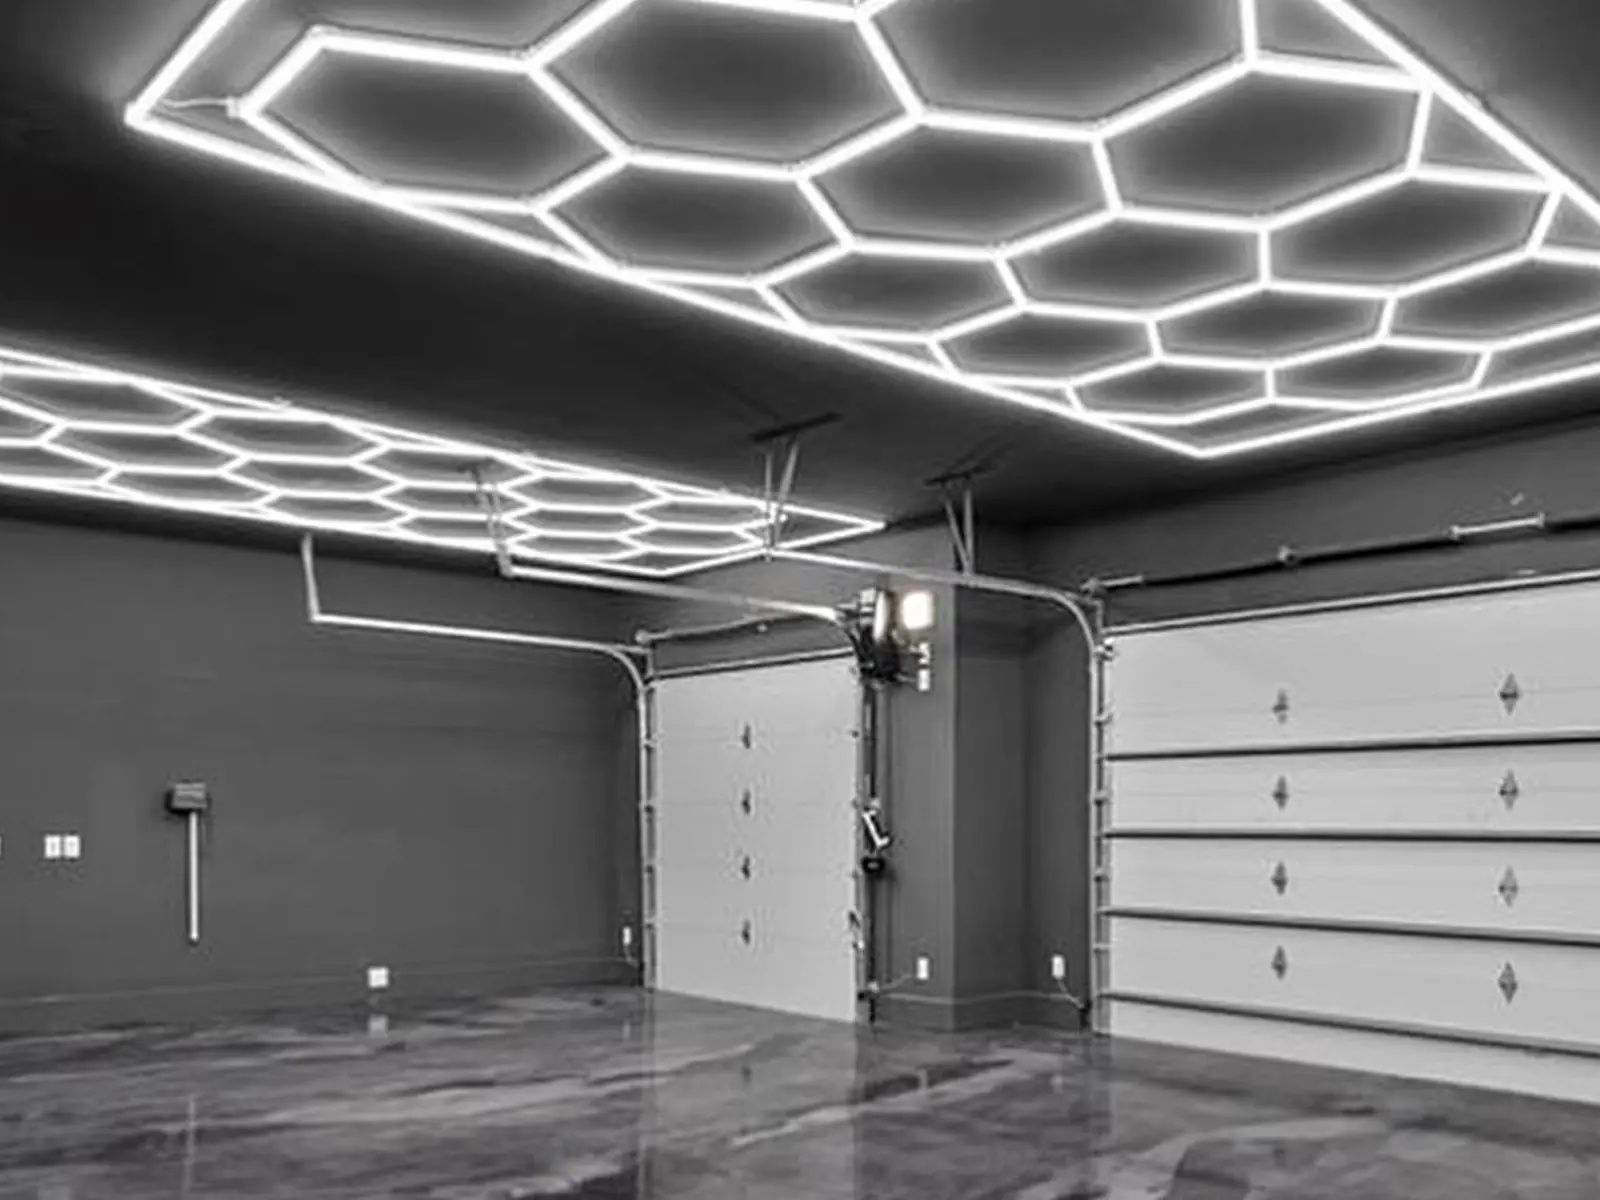
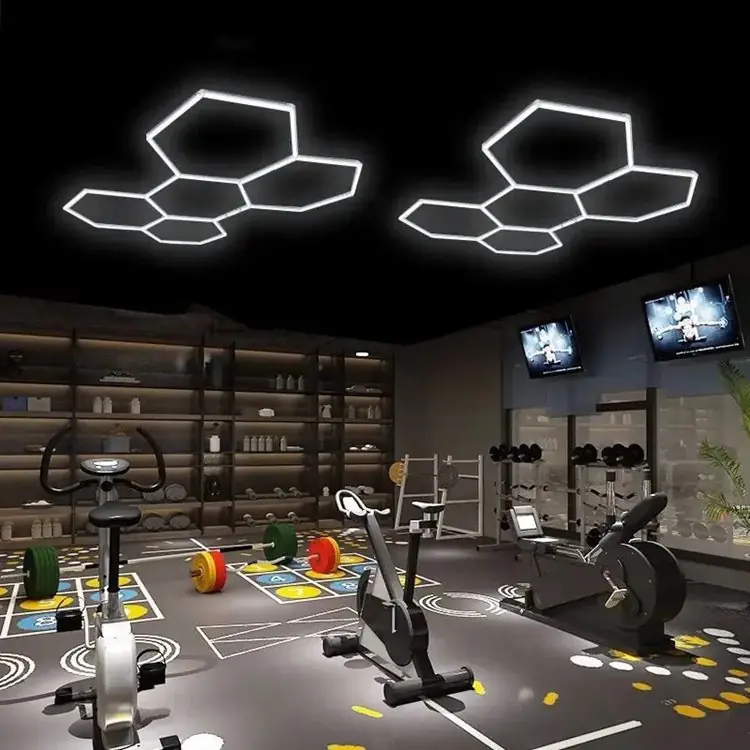
- Layout Design: Decide on the arrangement of your hexagonal light panels. You can either follow the manufacturer’s layout guide or create a custom pattern that complements your garage’s aesthetics and lighting needs.
- Key Tip: A custom layout offers a unique lighting signature, while a standardized design provides optimized coverage for most garages.
Explore the full range of customizable hexagon garage lighting here.
Surface Preparation: Setting the Stage
A well-prepared surface ensures proper adhesion and longevity of your lighting system. This step prevents future alignment and connectivity issues.
Step 2: Clean and Mark the Surface
- Clean the Wall/Surface: Ensure the surface is clean, dry, and free of dust or debris.
- Leveling: Use a level tool to mark the precise positions for each hex panel to maintain straight and symmetrical alignment during installation.
For more installation tips on surface mounting, check out our garage lighting solutions.
Connecting and Mounting Panels
Once the surface is prepared, the next step involves carefully connecting and mounting the hexagon light panels.
Step 3: Link the Panels
- Connector Setup: Utilize ‘Y’ and ‘V’ connectors to link the panels in accordance with your design. Ensure that each panel is aligned properly to achieve uniform lighting.
- Manufacturer’s Instructions: Follow the guidelines provided with the lighting kit to secure a smooth electrical flow and balanced aesthetics.
Step 4: Mount the Panels
- Adhesive Strips: If you choose adhesive strips, attach them to the back of each panel. This method is particularly useful for quick installations on smooth surfaces.
- Mounting Hardware: Alternatively, use screws or ties for a more secure and permanent installation. This is recommended for surfaces where adhesive might not provide enough support.
Power Connection and Testing
After the panels are mounted, connecting them to a power supply and testing the setup ensures the system works as expected.
Step 5: Connect to Power
- Plug-in the Power: Connect the entire lighting system to the power supply. Ensure that the wiring is properly insulated and all connections are secure.
Step 6: Test the Lights
- Testing: Turn on the lights and check for any malfunctions. Make sure the entire array is working uniformly. This step is crucial to detect any potential issues before finalizing the installation.
- Customer Assurance: Should any unexpected issues arise, don’t worry—most products offer a 30-day hassle-free return policy.
Explore more about the durability and functionality of our Hex LED Lights.
Installation Overview: Quick Reference Table
| Installation Step | Action | Key Tools |
|---|---|---|
| Materials Preparation | Collect panels, adhesive, power supply | Adhesive strips, mounting hardware |
| Layout Planning | Decide on design and pattern | Layout guide, level |
| Surface Preparation | Clean and level the installation surface | Cleaning cloth, level |
| Connecting Panels | Use ‘Y’ and ‘V’ connectors to link panels | Manufacturer’s instruction manual |
| Mounting Panels | Attach panels using adhesive or hardware | Screws, adhesive strips |
| Power Connection | Connect panels to the power supply | Power cables |
| Testing | Ensure all panels function properly | Light switches, test equipment |

Conclusion: Enhancing Your Garage with Efficient Lighting
By following these systematic steps, you can seamlessly install LED Hexagon Garage Light Fixtures, ensuring optimal lighting and aesthetic appeal in your workspace. Whether you choose adhesive mounting for simplicity or hardware for durability, this lighting solution transforms any garage into a well-lit, productive environment. Remember, efficient lighting not only enhances functionality but also contributes to energy savings and safety.
Discover more about our wide selection of hexagon lighting solutions tailored to fit your garage’s unique needs.


