-
Add: Maohui Industrial Zone,Henglan town,Zhongshan City,Guangdong,China
-
Tel: +86 158 8963 0817
-
Email: info@hexlightoem.com

How to Install Hexagon Lights: A Comprehensive Guide
Table of Contents
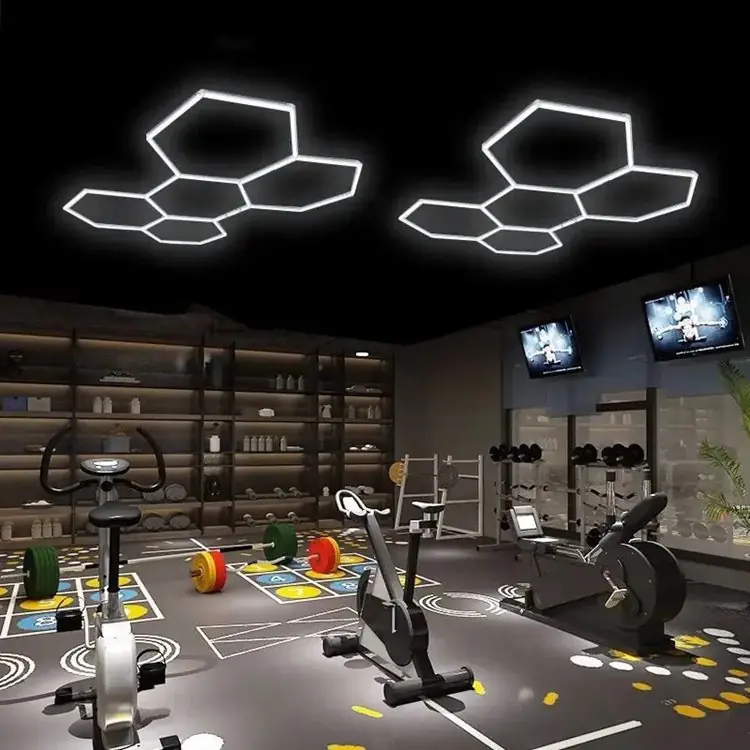
Hexagon lights have gained widespread popularity in modern interior design, known for their sleek appearance and dynamic lighting effects. This article provides a detailed, step-by-step guide for installing hexagon lights to enhance your space, whether it’s for a garage, living area, or showroom. Following these guidelines will ensure you achieve a successful and aesthetically pleasing installation.
Overview of Hexagon Light Installation
Installing hexagon lights involves several key stages, including pre-installation planning, assembling the components, mounting, and post-installation adjustments. Each step requires careful attention to detail for a seamless outcome. Below, we’ll discuss the tools, design considerations, and installation process, culminating in an enhanced lighting experience for your space.
Essential Tools for Hexagon Light Installation
The tools required for installing hexagon lights are minimal but crucial. Below is a list of basic tools you will need to ensure a smooth installation process:
| Tool | Purpose |
|---|---|
| Cleaning cloth | For wiping down surfaces before mounting |
| Mild solution | To remove any greasy or stubborn stains |
| Pencil or chalk | For marking the layout on walls |
| Ladder | To safely reach higher areas |
Ensuring you have these tools readily available simplifies the installation and guarantees that your lighting system will be mounted securely.
Understanding the Components of Hexagon Lights
Hexagon lights consist of several essential components: LED panels shaped like hexagons, connecting links, a control unit, and adhesive pads. The control unit is responsible for powering the system and managing the lighting effects, while the adhesive pads securely mount the panels onto the wall or ceiling.
Pre-Installation Steps: Planning and Surface Preparation
Before jumping into the installation process, it’s critical to plan your layout and prepare the surface where the lights will be installed.
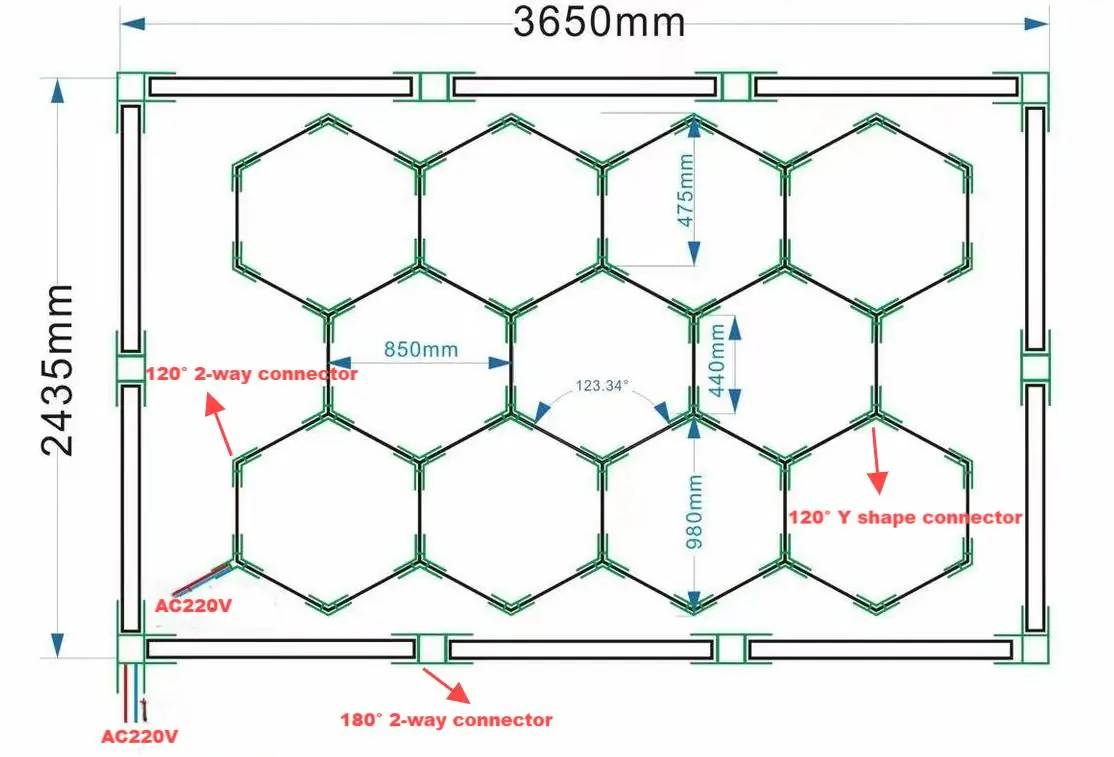
- Design Planning: Hexagon lights are highly versatile, allowing for various geometric patterns. Sketch out your design on paper or use a digital tool to visualize the final result. This prevents issues like running out of panels or misaligning the layout.
- Surface Preparation: A clean, dry, and smooth surface is key to a secure installation. Use a mild cleaning solution to remove any residue or grease from the surface, followed by drying it with a clean cloth.
Step-by-Step Hexagon Light Installation
Once you’ve completed the pre-installation steps, you can begin assembling and mounting your hexagon lights. This involves three major phases: panel connection, attaching the control unit, and final mounting.
Panel Connection and Control Unit Installation
- Connecting Panels: The LED hexagon panels are interconnected using linking connectors. Ensure each panel is securely fastened following your pre-planned layout.
- Control Unit Setup: Connect the control unit to one of the panels. This unit will serve as the system’s primary power source, allowing you to control lighting settings such as brightness and color modes. It’s important to position the control unit in an accessible location for convenient adjustments.
Mounting the Hexagon Panels
Once the panels are connected, it’s time to mount them using adhesive pads or strips:
- Adhesive Mounting: Apply the adhesive pads to the back of each panel and press them firmly against the prepared surface. Ensure each panel is level and adheres securely to avoid any misalignment over time.
Post-Installation Adjustments and Testing
After the panels are installed, it’s crucial to test the system to ensure everything functions as expected.
- System Test: Plug in the control unit and power on the hexagon lights. Test various brightness levels, color settings, and patterns to verify the installation is successful.
- Final Adjustments: If needed, realign any panels or tweak the layout to match your desired lighting effect.

Conclusion
Installing hexagon lights may seem complex at first, but with proper planning and a systematic approach, it becomes a straightforward task. These lights not only serve a functional purpose but also add a touch of modernity and elegance to any space. For more advanced setups or troubleshooting, consider seeking professional advice to ensure optimal results. By following these steps, your space will be illuminated in a sleek, cutting-edge design.
For additional details on garage-specific setups, explore Hexagon Garage Lights. You can also check out Hex Ceiling Lights for more inspiration. Additionally, explore RGB Hex Lights for vibrant and customizable lighting options(hexlight).


