-
Menambahkan: Kawasan Industri Maohui, kota Henglan, Kota Zhongshan, Guangdong, Cina
-
Telp: +86 158 8963 0817
-
E-mail: alamat email: hexlightoem.com

Panduan Utama untuk Menyiapkan Lampu LED Heksagon
Daftar isi
Ringkasan
Menyiapkan lampu LED segi enam merupakan proses yang mudah jika dipandu oleh ketepatan ilmiah dan kemahiran teknologi. Artikel ini memberikan pendekatan langkah demi langkah untuk menerangi garasi Anda dengan perlengkapan modern ini, yang memastikan fungsi dan integrasi desain yang optimal.

Langkah-Langkah Utama untuk Mengaktifkan Lampu LED Heksagon Anda
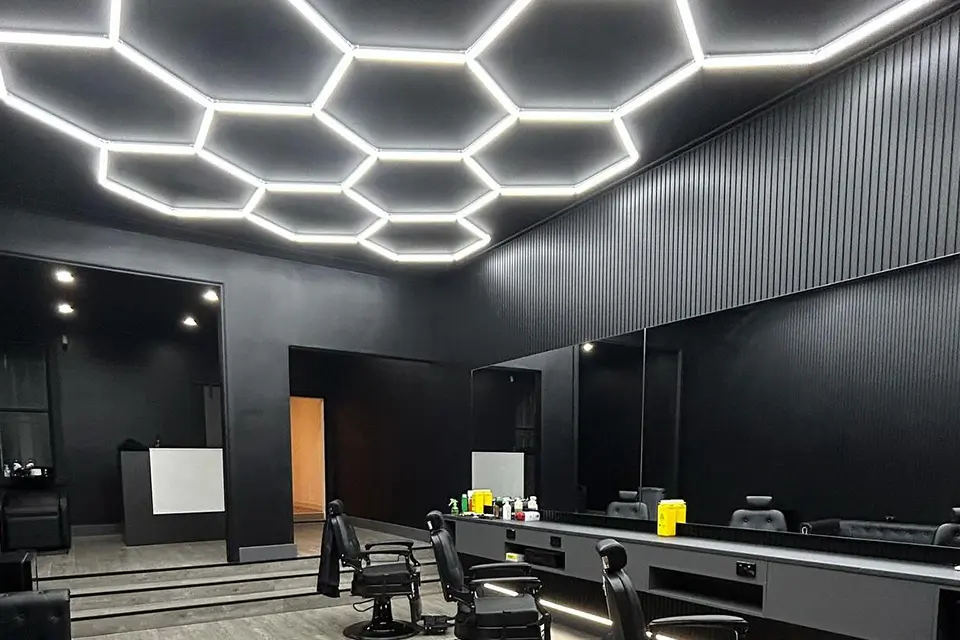
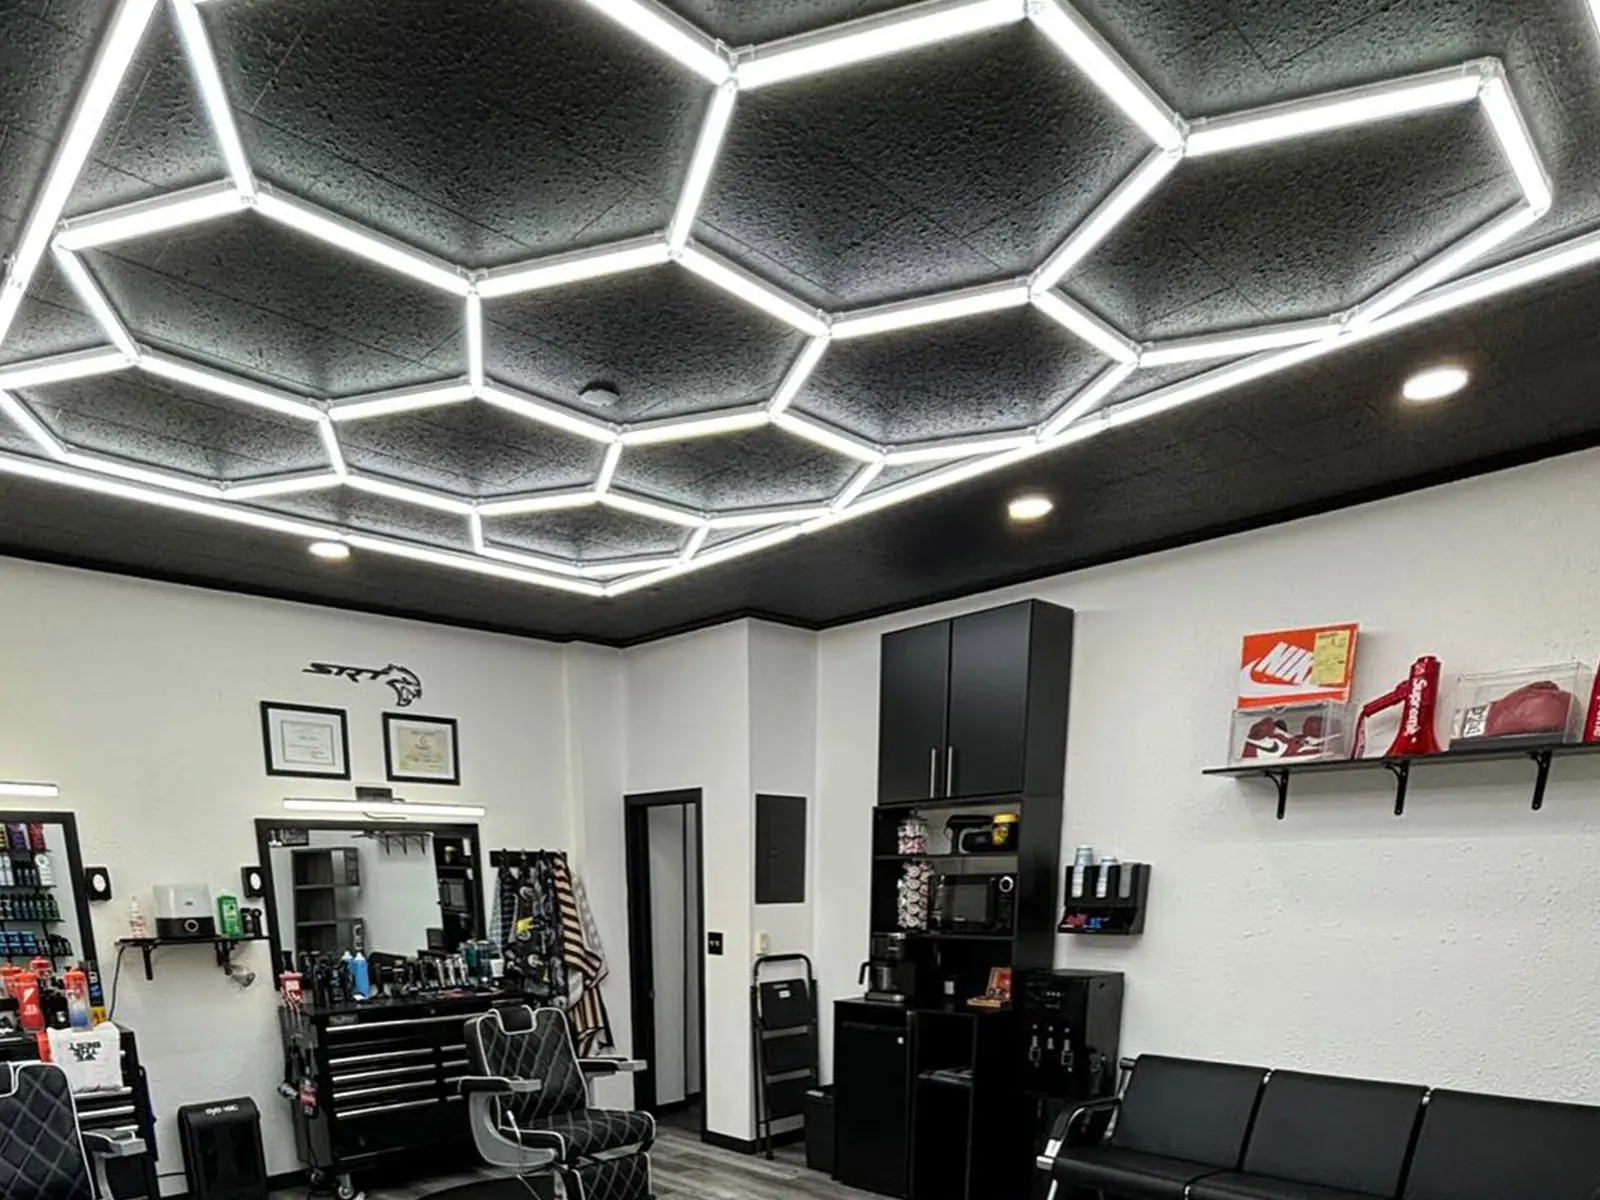
Untuk mendapatkan garasi yang terang dan tampak profesional dengan lampu segi enam, diperlukan beberapa langkah penting. Lampu ini lebih dari sekadar perlengkapan—lampu ini dirancang untuk efisiensi dan suasana.
| Tangga | Keterangan |
|---|---|
| Temukan Sumber Daya | Identifikasi sakelar atau perangkat jarak jauh untuk memudahkan kontrol. |
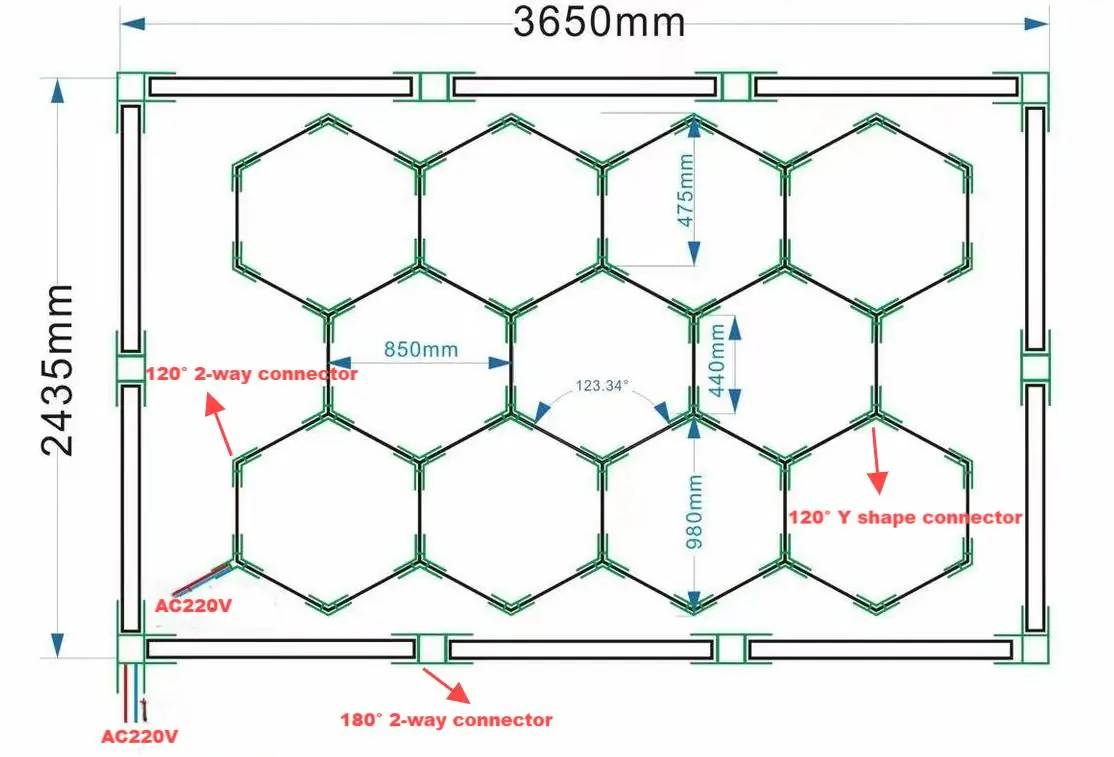
| Pastikan Koneksi yang Benar | Periksa kabel dan pastikan semua konektor terpasang dengan benar. |
| Konfigurasi untuk Efisiensi | Sesuaikan mode kecerahan dan hemat energi. |
| Lakukan Pemecahan Masalah | Tangani semua masalah awal, pastikan setiap panel berfungsi sebagaimana mestinya. |
Untuk informasi lebih lanjut tentang lampu segi enam yang ramah DIY, lihat lampu heksagonal buatan sendiri untuk para penggemar.
Pengaturan Awal: Menemukan dan Mengaktifkan Sumber Daya
Langkah 1 – Temukan Sakelar atau Kontrol Jarak Jauh
Sebagian besar sistem pencahayaan segi enam menawarkan opsi kontrol yang serbaguna. Dalam pengaturan yang umum, sumber daya dapat diintegrasikan ke sakelar dinding, remote, atau bahkan aplikasi telepon pintar, tergantung pada modelnya. Pastikan akses mudah ke kontrol untuk mengoptimalkan kenyamanan pengguna.
- Identifikasi Sakelar atau Jarak Jauh
Sumber daya pengaturan heksagonal dapat bervariasi, jadi pastikan untuk memeriksa panduan instalasi Anda untuk detail spesifik. - Menguji Respon Cahaya
Setelah ditemukan, balikkan sakelar atau gunakan remote untuk memverifikasi semua lampu aktif sebagaimana mestinya.
Untuk konfigurasi lanjutan dan kontrol cerdas, jelajahi lampu garasi sistem segi enam yang menawarkan opsi yang diperluas.
Langkah 2 – Mempercantik Garasi dengan Pencahayaan Berkualitas
Setelah LED segi enam Anda aktif, luangkan waktu sejenak untuk menyesuaikan pengaturan guna mendapatkan kecerahan optimal. Panel ini biasanya menawarkan distribusi cahaya yang lebar dan bebas bayangan, sehingga meningkatkan visibilitas di seluruh ruangan. Jika kontrol kecerahan tersedia, sesuaikan intensitasnya dengan kebutuhan spesifik Anda.
Masalah Umum dan Pemecahan Masalah Sederhana
Langkah 3 – Pemecahan Masalah: Menyelesaikan Masalah Pengaturan Dasar
Jika lampu Anda tidak segera merespons, ikuti langkah-langkah pemecahan masalah berikut:
- Konfirmasikan Semua Koneksi
Pastikan setiap panel lampu tersambung dengan kuat ke tautan terkaitnya dalam pengaturan. - Periksa Kotak Sekring dan Catu Daya
Masalah terkait daya mungkin memerlukan pemeriksaan kotak sekring atau stabilitas sumber daya. - Lihat Panduan Produsen
Untuk masalah yang lebih spesifik, lihat manual atau sumber daya daring.
Untuk instalasi komersial dan yang lebih besar, lihat Pencahayaan Hexgrid produk.
Opsi Kontrol Lanjutan dan Teknik Pencahayaan yang Disempurnakan
Langkah 4 – Meningkatkan Lampu LED Hexagon Anda dengan Fitur Cerdas
Jika Anda ingin mengambil kendali lebih jauh, mengintegrasikan teknologi rumah pintar memungkinkan fleksibilitas tambahan. Pertimbangkan untuk memasangkan lampu Anda dengan sistem pintar untuk mengendalikan pengaturan melalui suara atau aplikasi, meningkatkan pengalaman dengan fitur-fitur seperti siklus on/off otomatis atau opsi perubahan warna pada lampu hex RGB.
Untuk solusi kelas atas, lihat Lampu RGB segi enam dengan opsi penyesuaian warna.

Manfaat Lampu LED Hexagon untuk Garasi
- Pencahayaan yang Ditingkatkan
Desain heksagonal memaksimalkan kecerahan tanpa mengurangi efisiensi energi. - Efisiensi Energi
Lampu LED segi enam dirancang untuk menawarkan pencahayaan berkualitas tinggi dengan konsumsi daya minimal. - Estetika Modern
Lampu ini menambah tampilan ramping dan profesional pada garasi Anda, cocok untuk penggemar DIY dan para profesional.
Untuk konfigurasi tambahan, telusuri lampu LED segi enam untuk menjelajahi berbagai pilihan khusus garasi.
Kesimpulan: Membuat Ruang Anda Bersinar dengan Presisi dan Gaya
Lampu LED segi enam lebih dari sekadar solusi pencahayaan—lampu ini mendefinisikan ulang cara ruang Anda dipersepsikan dan digunakan. Dengan mengikuti panduan ini, Anda dapat mengaktifkan, mengoptimalkan, dan memecahkan masalah lampu ini dengan mudah, memastikan garasi Anda siap untuk proyek atau tugas apa pun.


