-
Add: Maohui Industrial Zone,Henglan town,Zhongshan City,Guangdong,China
-
Tel: +86 158 8963 0817
-
Email: info@hexlightoem.com

Transform Your Space: DIY Installation of (Hexagon LED Garage Lights)
Table of Contents
Discover how to easily transform your garage with the step-by-step DIY installation of hexagon LED garage lights. This comprehensive guide provides all the information you need to install hexagon lights, enhancing both the functionality and aesthetics of your space. Perfect for DIY enthusiasts and those looking to upgrade their garage lighting, this article will explain why it’s a must-read for anyone considering a modern and stylish lighting solution.
Why Choose Hexagon LED Garage Lights for Your Space?
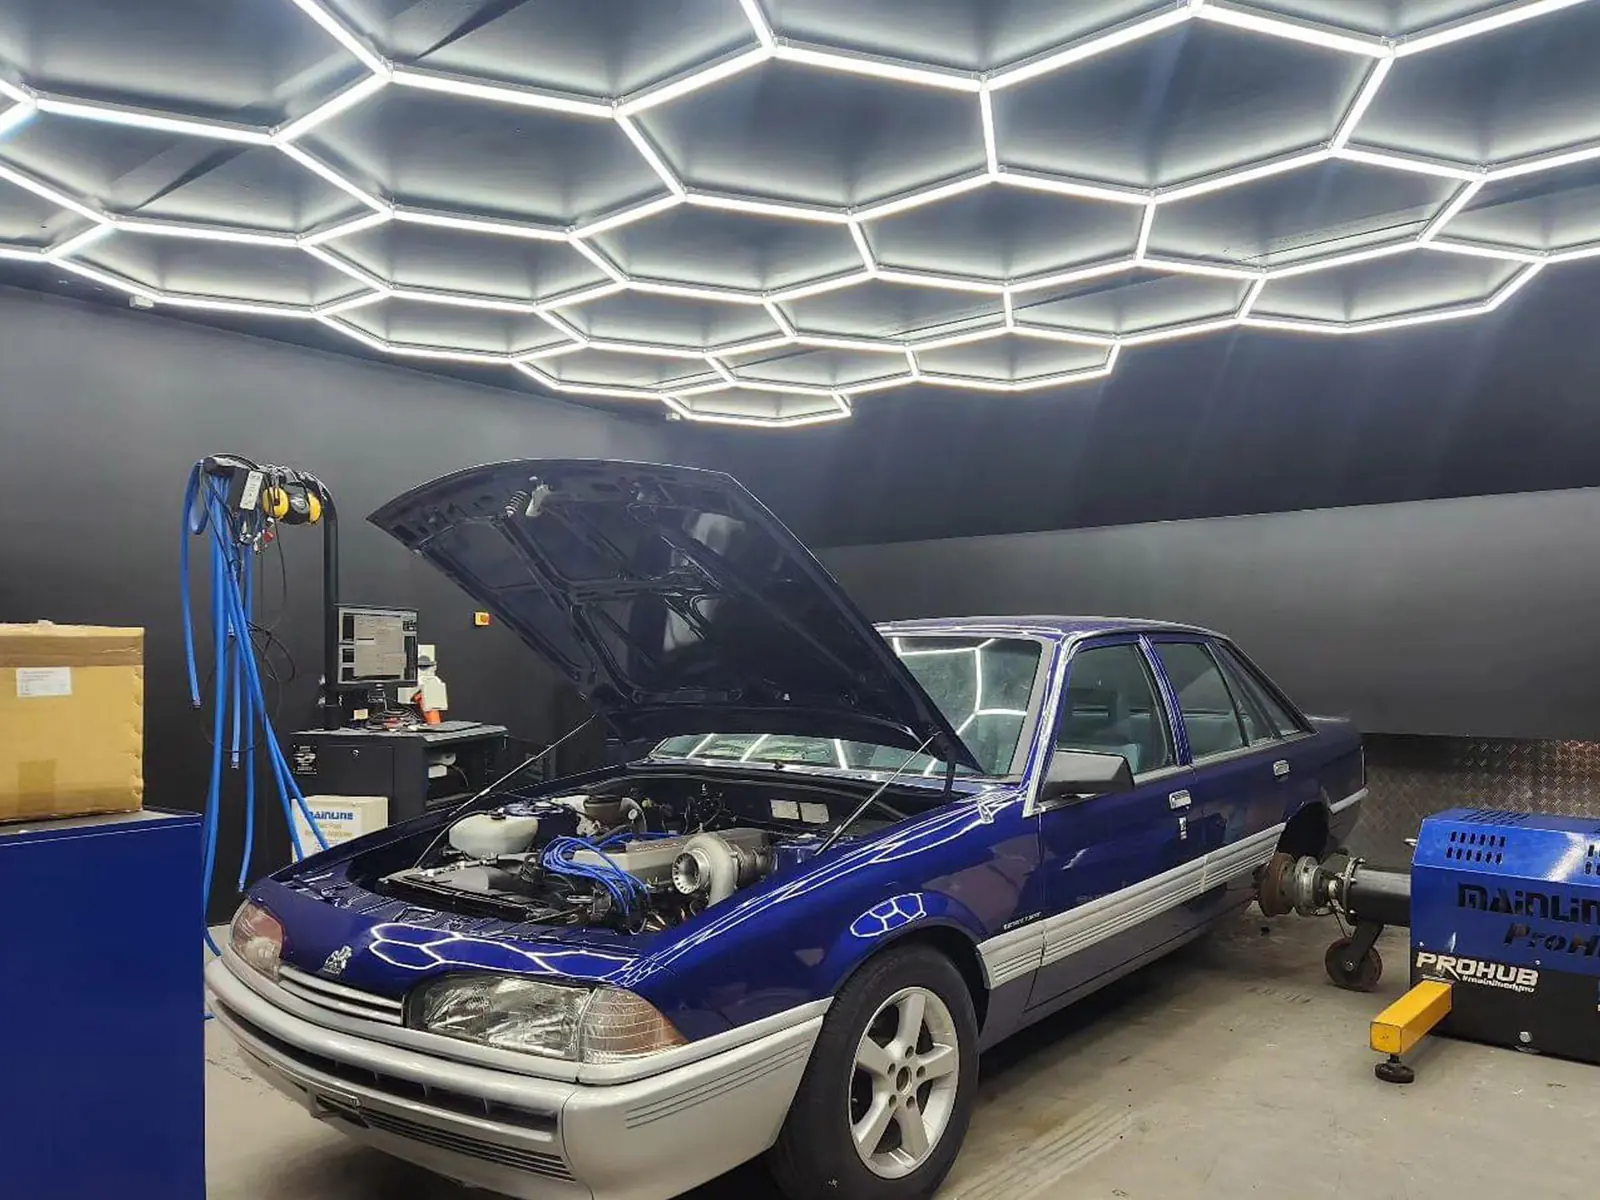
Hexagon LED garage lights are revolutionizing the way we think about garage and workshop illumination. Their unique honeycomb design not only adds a visually appealing aesthetic to your space but also provides high-quality, bright light that enhances visibility. These lights are energy-efficient and long-lasting, making them perfect for garages and workshops. Unlike traditional lighting, hexagon lights offer a modern, stylish look while ensuring your area is well-lit.
Moreover, hexagon LED lights are designed for easy DIY installation, allowing you to transform your space without the need for a professional electrician. The modular nature of these lights means you can customize the layout to fit your specific needs, creating a unique lighting design that reflects your personal style. Whether you’re looking to brighten up a dim garage, enhance your workshop, or simply add a touch of modern elegance, hexagon LED garage lights are an excellent choice.

Planning Your Hexagon Light Installation
Before you begin the installation, it’s essential to plan your hexagon light layout carefully. Start by measuring your garage or workshop space to determine the dimensions and the number of hexagon panels you’ll need. Consider the positioning of each light to ensure even illumination and to avoid any shadows. Planning your layout ahead of time will help you visualize the final look and make the installation process smoother.
Next, think about the power source and how you’ll connect the lights. Hexagon LED lights typically come with a plug-and-play setup, but it’s important to ensure your power supply can handle the load. Check the manual provided with your lights for specific requirements and guidelines. Proper planning will help you avoid any electrical issues and ensure a safe and successful installation.
Step-by-Step Guide to Installing Hexagon LED Lights
Installing hexagon LED lights is a straightforward process that can be completed in a few simple steps.
Step 1: Assemble the straight border pieces on the floor. Use the straight and 90-degree elbow connectors to connect the tubes, ensuring each tube is fully inserted. Start by assembling the border first, as this will provide a framework for the rest of the installation.
Once the border is assembled, you can begin connecting the hexagon panels. Use a T connector to join the hexagons in each column, working your way from one end of the border to the other. Ensure each hexagon is securely connected before moving on to the next. Once you reach the last corner of the border, leave it open to later connect to the next hexagon in the adjacent column. Continue this process until you reach the total number of columns specified in your instruction manual.
Assembling the Hexagon LED Lighting System
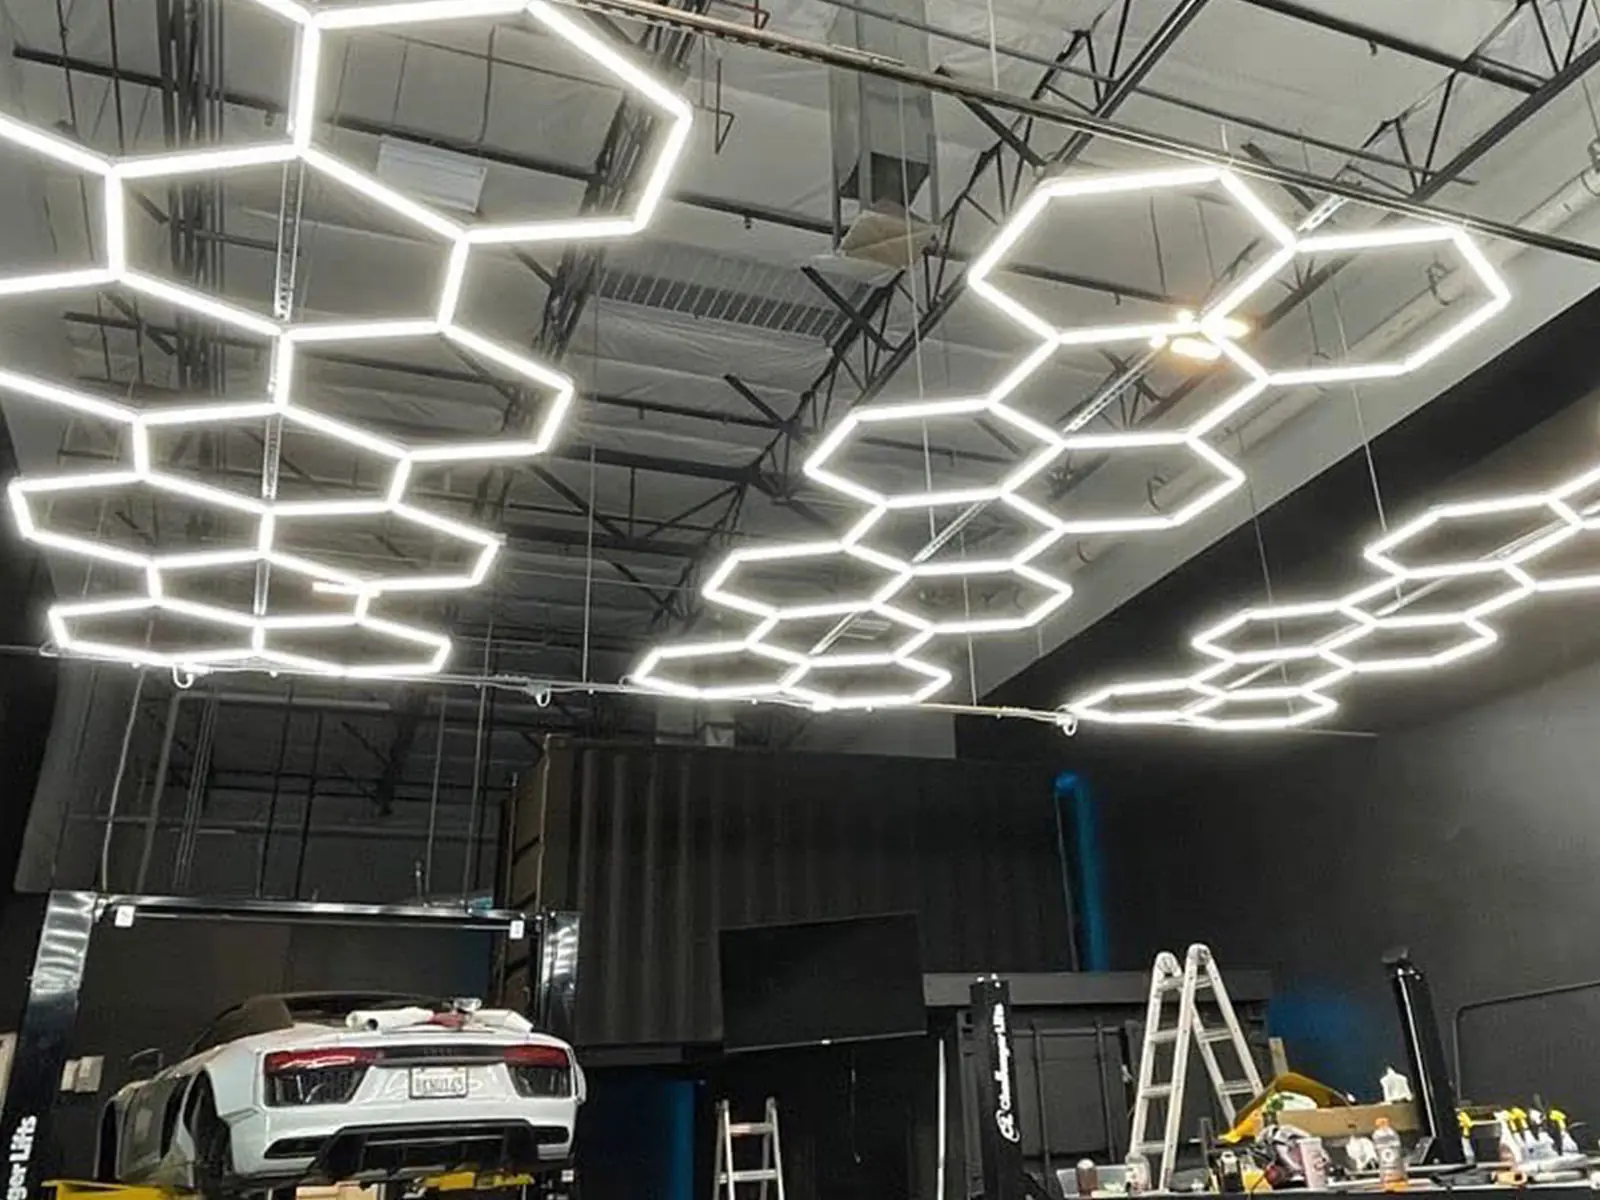
Assembling the hexagon LED lighting system involves connecting each light panel using the provided connectors. Start by laying out all the panels on the floor in your desired pattern. This allows you to visualize the final layout and make any necessary adjustments before mounting the lights to the ceiling. Use the connectors to securely join each hexagon light, ensuring a stable and reliable connection.
For a standard hexagon LED garage lights setup, you’ll typically use a combination of straight, and two-way elbow connectors. Each connector is designed to fit snugly into the hexagon panels, creating a seamless and continuous light display. Double-check each connection to ensure it is secure and that the entire structure is stable. Once assembled on the floor, you’re ready to move on to the next step: mounting the lights to the ceiling.
How to Connect Hexagon Lights in Columns
Connecting hexagon lights in columns is a crucial part of the installation process. To start, identify the first hexagon panel in your layout. Use a T connector to join this panel to the next one in the column. Ensure each tube is fully inserted into the connector for a secure fit. Continue this process, adding each subsequent hexagon to the column until you reach the desired length.
Once you’ve completed the first column, move on to the next, repeating the same steps. It’s important to work methodically, ensuring each hexagon is securely connected before moving on. When you reach the end of each column, leave the last connector open so you can later connect it to the adjacent column. This method ensures a continuous and stable lighting structure. Follow the guidelines in your instruction manual to determine the total number of columns needed for your specific setup.
Joining All Columns Horizontally
After assembling each column vertically, the next step is to join all columns together horizontally. This creates the complete hexagon grid that will illuminate your space. Start at one end of your assembled columns. Use the appropriate connectors, typically straight or two-way elbow connectors, to link the end of one column to the beginning of the next. Ensure each connection is secure and that the tubes are fully inserted into the connectors. In one corner, you need to use a two-way elbow.
Continue this process, connecting each column to the next until the entire border of your hexagon grid is complete. This horizontal connection not only provides structural integrity but also ensures that the electrical current flows seamlessly through all the lights. Double-check each connection point to confirm that all panels are securely linked. This step is vital for creating a cohesive and functional hexagon lighting system.
Mounting Your Hexagon Lights to the Ceiling
Once your hexagon grid is fully assembled, it’s time to mount it to the ceiling. Begin by identifying the designated mounting points on your ceiling. These points should align with the layout you planned earlier. Use screws to secure the mounting clips or brackets to the ceiling, ensuring they are firmly attached and can support the weight of the lights.
Carefully lift the assembled hexagon grid and align it with the mounting clips on the ceiling. Attach the grid to the clips, ensuring each connection point is secure. Double-check that the entire structure is stable and properly mounted. This step may require an extra pair of hands to safely lift and secure the lights. Once mounted, your hexagon LED lights will be ready to connect to the power source and illuminate your space.
Connecting to the Power Source
With your hexagon lights mounted, the next step is to connect them to the power source. Locate the main power cable that comes with your lighting kit. This cable will connect the entire grid to your electrical supply. Ensure the power is turned off at the source before making any connections to avoid electrical hazards. You can see the red circle in the picture, we need to leave it to connect the cable.
Connect one end of the power cable to the designated connector on your hexagon grid. This is typically located at one corner or edge of the assembled lights. Plug the other end of the cable into a suitable power outlet or connect it to your existing wiring, following the instructions provided in the manual. Once the connection is secure, you can turn the power back on and test your lights. If installed correctly, all the hexagon panels should light up, providing bright and even illumination across your space.
Customizing Your Hexagon Lighting Setup
One of the greatest advantages of hexagon LED lights is their versatility and ability to be customized. After installation, you can adjust the brightness and, if applicable, the color settings to create the perfect ambiance for your garage or workshop. Many hexagon light kits come with a dimmer switch or a remote control, allowing you to easily adjust the light intensity to suit your needs. For example, you might want brighter light for detailed tasks and a dimmer setting for general use.
Additionally, some hexagon LED garage lights offer RGB capabilities, enabling you to change the color of the lights to match your mood or occasion. This feature can transform your space, making it more dynamic and visually appealing. Experiment with different layouts and settings to find the perfect combination that enhances both the functionality and aesthetics of your garage. Customization options make hexagon lights a versatile choice for any space.
Tips for Maintaining Your Hexagon LED Lights
Maintaining your hexagon LED lights is relatively simple, thanks to their long-lasting and durable design. Regularly check the connections to ensure they remain secure and that there are no loose panels. Dust and debris can accumulate on the lights, so periodically cleaning them with a soft cloth will help maintain their brightness and appearance. Avoid using harsh chemicals or abrasive materials that could damage the lights.
If you encounter any issues, such as a panel not lighting up, check the connection points and the power supply. Ensure that all tubes are fully inserted into the connectors and that the power source is functioning correctly. If the problem persists, consult the manual or contact customer support for assistance. Proper maintenance will ensure your hexagon LED lights continue to provide bright, efficient, and stylish illumination for years to come.
| Component | Connection Type | Purpose |
|---|---|---|
| Straight Border Pieces | Straight Connectors | Create the outer frame of the hexagon grid |
| 90-Degree Elbow | Elbow Connectors | Form the corners of the border |
| Hexagon Panels | T Connectors | Join hexagons vertically in columns |
| Columns | Straight Connectors | Connect columns horizontally to complete the grid |
| Power Cable | Plug or Wiring | Connect the entire grid to the electrical supply |
Hexagon LED Lights Components and Connections
Hexagon LED garage lights offer a perfect blend of style, functionality, and ease of installation. Whether you’re a DIY enthusiast or simply looking to upgrade your garage lighting, these lights provide a modern and efficient solution. With their customizable layouts, adjustable brightness, and long-lasting performance, hexagon lights can transform any space, making it brighter and more visually appealing.
“Installing hexagon lights in my garage was the best decision I made. The transformation is incredible, and the brightness is perfect for my workshop.” – John D.
“These lights are not only functional but also add a stylish touch to my garage. The DIY installation was straightforward, and I love the ability to customize the settings.” – Sarah M.
By following the steps outlined in this guide, you can successfully install and enjoy the many benefits of hexagon LED garage lights. From enhancing visibility to adding a modern aesthetic, these lights are a smart choice for any garage or workshop.

Conclusion
Installing hexagon LED garage lights is a rewarding project that can significantly enhance the functionality and appearance of your space. These lights offer a stylish, modern, and energy-efficient lighting solution, perfect for garages and workshops. Let’s recap the key takeaways:
- Hexagon LED lights provide bright, even illumination, enhancing visibility and aesthetics.
- Planning your layout and power source is crucial for a successful installation.
- Assembling the lights involves connecting panels in columns and then joining the columns horizontally.
- Mounting the assembled grid to the ceiling requires careful alignment and secure attachment.
- Connecting to the power source should be done with the power turned off to ensure safety.
- Customizing the brightness and color settings allows you to tailor the lighting to your specific needs.
- Regular maintenance, including cleaning and checking connections, will keep your lights in top condition.
- Hexagon lights are versatile, making them suitable for various applications, from detailed work to ambient lighting.
Ready to transform your garage with hexagon LED lights? Contact us today via our contact page to learn more about our products and how they can elevate your space. Let us help you create the perfect lighting solution tailored to your needs!


